Before a Section 8 voucher can be used in any rental unit, that unit has to pass an inspection. This inspection is called the Housing Quality Standards (HQS) inspection, and it's a required step in the process — no exceptions.
Understanding what inspectors look for, what causes units to fail, and how to prepare gives both tenants and landlords a much better chance of getting through the process quickly and without delays.
What Is the HQS Inspection?
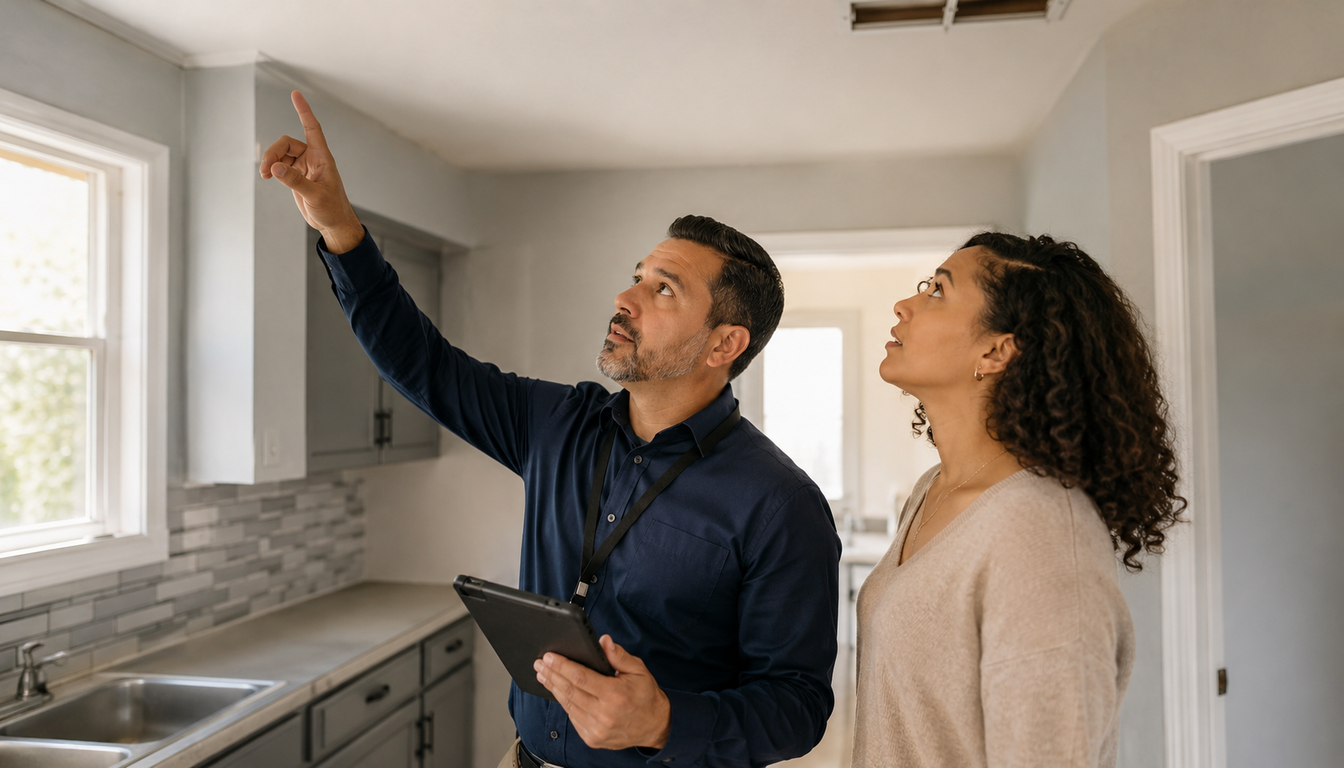
The Housing Quality Standards inspection is a formal review of a rental unit conducted by your local Public Housing Authority (PHA) before Section 8 assistance can begin. It exists to make sure the unit meets basic health and safety standards set by the U.S. Department of Housing and Urban Development (HUD).
The inspection is not about finding a perfect unit. It's about confirming the unit is safe, sanitary, and in good enough condition for a family to live in. HUD's Housing Quality Standards guidelines cover thirteen general areas — from the condition of the kitchen to the safety of the electrical system.
If a unit passes, the PHA approves the lease and assistance begins. If a unit fails, the landlord is given a chance to make repairs and schedule a re-inspection. If repairs aren't completed in time, the voucher holder has to find a different unit.
This is why understanding the inspection matters so much — a failed inspection delays your move-in and eats into your voucher timeline.
Who Is Responsible for What?
Both the landlord and the tenant have responsibilities under the HQS standards:
The landlord is responsible for:
-
The physical condition of the unit — walls, ceilings, floors, roof, plumbing, electrical systems, heating, windows, and doors
-
Making sure all appliances provided with the unit are working
-
Addressing any structural, safety, or maintenance issues before and during the tenancy The tenant is responsible for:
-
Keeping the unit clean and in good condition
-
Not causing damage beyond normal wear and tear
-
Making sure any tenant-owned appliances meet safety standards
-
Not allowing conditions that create health or safety hazards — such as excessive clutter blocking exits or pest infestations caused by poor housekeeping
If a unit fails inspection because of something the tenant caused — damage, clutter, unsanitary conditions — the tenant may be held responsible for fixing it. If it fails because of the landlord's maintenance issues, that's the landlord's problem to resolve.
The 13 Areas Inspectors Check
HUD's HQS guidelines organize the inspection into thirteen categories. Here is what each one covers in plain terms:
1. Sanitary Facilities The bathroom must have a working toilet, a sink with running water, and either a tub or shower. All must be in proper working condition with no significant leaks.
2. Food Preparation and Refuse Disposal The kitchen must have a working stove or range, a refrigerator that maintains a safe temperature, a sink with running water, and space to prepare food. Trash must be able to be stored and disposed of properly.
3. Space and Security The unit must have at least one room used for living. Each room used for sleeping must have adequate space for the people sleeping there. Doors and windows that access the outside must lock.
4. Thermal Environment The unit must have a safe and working heating system capable of maintaining a minimum temperature — typically 65 to 68 degrees Fahrenheit — during cold weather. Cooling is evaluated in some climates.
5. Illumination and Electricity Every room must have at least one working electrical outlet or light fixture. The electrical system must be safe — no exposed wires, no overloaded circuits, no missing outlet covers.
6. Structure and Materials Walls, ceilings, floors, roof, and foundation must be structurally sound. There should be no major holes, severe water damage, or conditions that compromise the structure of the building.
7. Interior Air Quality The unit must be free from conditions that affect air quality — including gas leaks, mold, carbon monoxide hazards, and inadequate ventilation. If the unit has a gas stove or heater, it must be properly vented.
8. Water Supply The unit must be connected to a safe, approved water supply. Hot and cold running water must be available at all plumbing fixtures.
9. Lead-Based Paint For units built before 1978, HUD requires inspectors to check for chipping, peeling, or flaking paint — which can indicate the presence of lead. This requirement is especially important for units housing children under six. HUD's lead paint resources explain the rules in full.
10. Access The unit must be accessible without passing through another private unit. Each unit must have its own private entrance.
11. Site and Neighborhood The surrounding area is reviewed for conditions that could pose serious health or safety risks — such as severe pollution, garbage accumulation, or proximity to industrial hazards.
12. Sanitary Condition The unit must be free from pest infestation — rodents, cockroaches, and other pests. Evidence of active infestation is a common reason for failed inspections.
13. Smoke and Carbon Monoxide Detectors Working smoke detectors must be present on every level of the unit and outside sleeping areas. Carbon monoxide detectors are required in many jurisdictions, particularly when the unit has gas appliances or an attached garage.
The Most Common Reasons Units Fail — and How to Fix Them
Knowing the common failure points helps landlords prepare and helps tenants know what to look for when evaluating a potential unit.
Missing or broken smoke detectors. This is one of the most frequent causes of failed inspections — and one of the easiest to fix. Smoke detectors cost a few dollars and can be installed in minutes. There is no reason a unit should fail for this.
Pest infestation. Cockroaches, mice, or rats will fail an inspection every time. Landlords need to address active infestations with professional pest control before the inspection date.
Peeling paint in pre-1978 buildings. Chipping or peeling paint in older buildings triggers lead paint concerns. Landlords must stabilize or remove the paint before re-inspection.
Plumbing problems. Leaking pipes, non-functional toilets, or lack of hot water are common inspection failures. All plumbing must be in working order.
Exposed electrical wiring or missing outlet covers. Any exposed wire or uncovered outlet is an automatic failure. These are quick, inexpensive fixes.
Broken windows or doors that don't lock. Every exterior window and door must open, close, and lock. Cracked glass or broken locks will fail.
No working heat source. A functioning heating system that can maintain safe temperatures is non-negotiable. If the unit's heating system is broken or insufficient, it will not pass.
Start With the Right Unit From the Beginning
One of the smartest things a voucher holder can do is ask about the condition of a unit before you schedule an inspection. Walk through the unit yourself and check the basics — smoke detectors, locks, visible plumbing, signs of pests, condition of walls and ceilings.
If a unit has obvious problems that the landlord hasn't fixed, bring that up before the inspection is scheduled. A landlord who is motivated and willing to make repairs quickly is a much better partner than one who drags their feet — especially when your voucher has a deadline.
Know Your Full Housing Options at Section 8 AI
If you're still working toward your voucher — or trying to understand all the housing assistance programs available to you before you reach the inspection stage — getting a clear picture of your eligibility is the right starting point.
Section 8 AI generates a personalized housing eligibility report based on your income, household size, and location. It tells you which programs your household qualifies for right now, whether local waitlists are open or closed, and what your next steps should be.
For people preparing to use a voucher, this information helps you make smarter decisions about which units to pursue — and which programs beyond Section 8 might also be available in your area.
Go to Section 8 AI and get your personalized housing eligibility report. Walk into every step of the process informed and prepared.
After a Failed Inspection: What Happens Next
If a unit fails inspection, the PHA will give the landlord a written list of what needs to be repaired and a deadline — typically 30 days for non-emergency items, 24 hours for life-threatening hazards like gas leaks or no heat in winter.
Once repairs are made, a re-inspection is scheduled. If the unit passes re-inspection, the lease can move forward. If repairs aren't completed by the deadline, the PHA may terminate the process for that unit, and you'll need to find a new one.
During this time, your voucher deadline keeps running. Stay in close contact with both the landlord and your PHA so you know exactly where things stand.
Additional Resources
- HUD Housing Quality Standards overview
- HUD lead paint resources
- Find your local PHA
- HUD-approved housing counselors: help navigating the voucher process at low or no cost
- Find participating landlords and listings: Visit our partner site Section 8 Search to browse available Section 8-friendly housing in your area
The Bottom Line
The HQS inspection is not there to make the process harder. It's there to make sure the housing you move into is actually safe and livable. Understanding what inspectors look for, what causes failures, and how to prepare means fewer delays and a faster path to getting your assistance started.
Go to Section 8 AI, get your personalized housing eligibility report, and make sure you're set up for success at every stage of the Section 8 process.